Getting started with Forecast
Welcome to Forecast
Forecast is a fast and simple way to schedule your team across projects and analyze your company’s time. This guide will show you the basics, and you can also check out our free 15-minute Getting started with Forecast webinar to learn more.
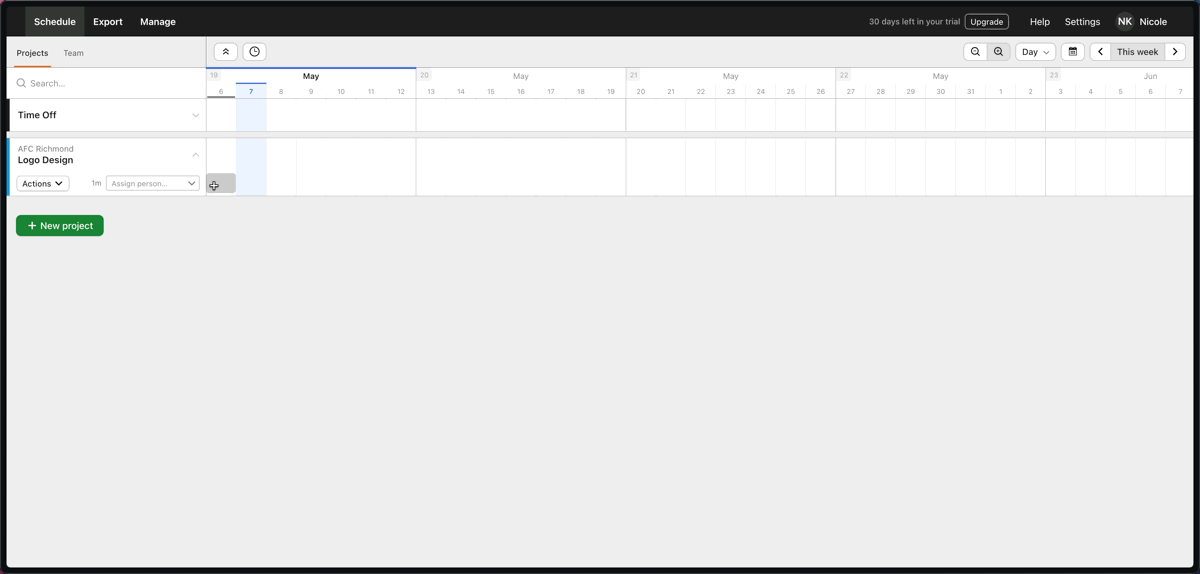
Once you’ve created your trial, you’ll want to sign in and head to the Schedule page—you can get here by clicking on Schedule in the top left of the page. You’ll then be dropped into the Projects view of your schedule.
Your schedule is where you’ll be able to take care of nearly everything in your Forecast account. From there, you can create projects, add teammates, and schedule project assignments.
Creating a project in Forecast

- Click the + New project button in the lower left corner of your schedule page.
- Enter a name for your project.
- Choose an existing client from the Client dropdown, or create a new one by selecting Add new client from the same dropdown.
- Optionally, you can add a project code, change the color label, add project tags, or add project notes.
- Assigning the project a color label and project tags will help with filtering your projects.
- Click Save project.
The new project will show up in the left menu of your schedule.
Note: If you have the Harvest and Forecast integration set up, you can import projects directly from Harvest into Forecast instead.
Adding a person to your Forecast account
You can add a new teammate to Forecast from Manage > Team, or you can do it right from your schedule. To add a person from the Schedule view:
- Click on a project to expand its options.
- Select the Assign person… dropdown and click the Add new person button.
- Enter your teammate’s first name, last name, and email address.
- Assign any relevant roles to your teammate.
- Roles are helpful for filtering your team.
- If your teammate’s hours per week capacity is different from the account’s default capacity, change it here using the Capacity drop down.
- Choose whether you want to invite your teammate to sign into Forecast.
- Set your teammate’s permission level if you invite them to sign in.
- Click Save person.
You’ll be dropped into a new assignment form.

Note: If you have the Harvest and Forecast integration set up, you can import people directly from Harvest into Forecast.
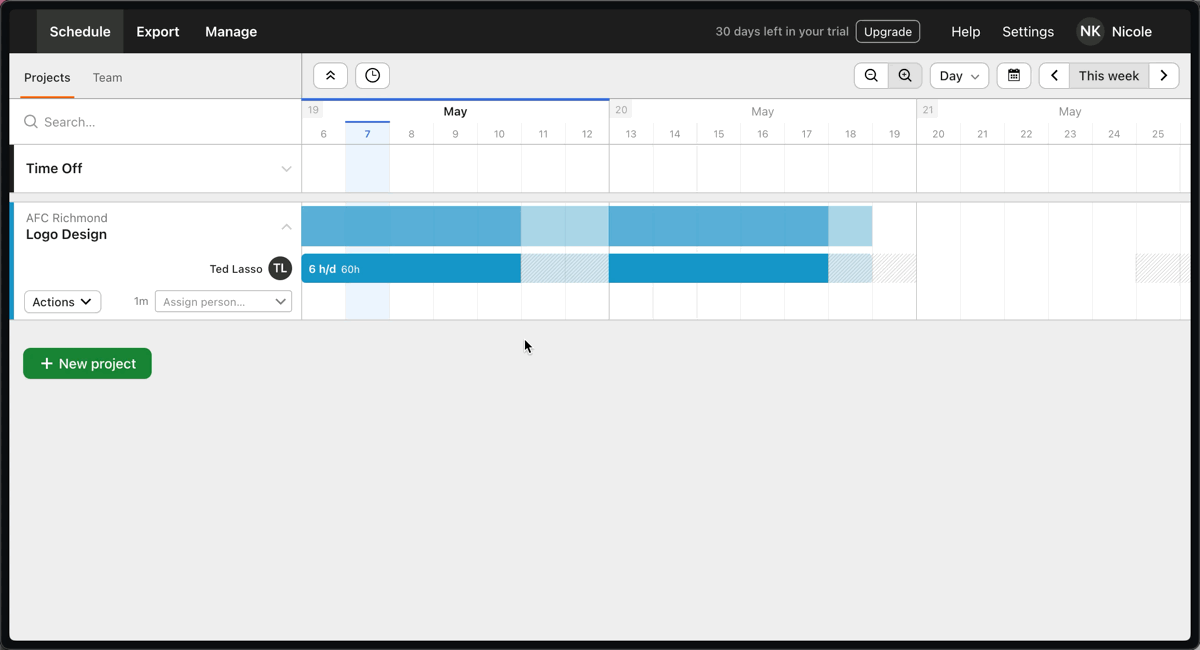
Scheduling time
Now that you’ve created a project and added a person, you can schedule an assignment. To schedule an assignment, click and drag to the right of the Assign person drop down over the number of days (Day view), weeks (Week view), or months (Month view) you’d like to schedule.
- Select the person or placeholder and click Add assignment.
- Confirm the number of Hours/Day that they will work on the project, or enter the Total hours for a given assignment length. If you’re on the Week or Month view, you can confirm the Hours/Week or Hours/Month.
- If the project is linked to Harvest via the integration, you can select a task from the Task dropdown.
- Confirm the assignment dates and enter any relevant details or links in the Notes field.
- If you’re on the Day or Week view and you’d like to repeat the assignment, check the Repeat weekly box and select the number of weeks.
- Repeating assignments are helpful for setting up recurring commitments. For example: if your teammate has to work 8 hours a day every Tuesday for the next 5 weeks on a project, this is a fast way to book their time over those 5 weeks.
- Click Save assignment.
You can read more about the different ways to schedule time in our article on adding assignments.
Adding milestones
Milestones are important dates that might occur over the lifespan of your project. They could be a client presentation, a final review, or the initial launch of a piece of software.
Note: It’s only possible to add or edit milestones from the Day view of the Projects schedule.
To add a milestone:
- Hover over the project assignment. You should see an Add milestone option come up.
- Click the Add milestone option.
- Enter a name, then Save milestone.
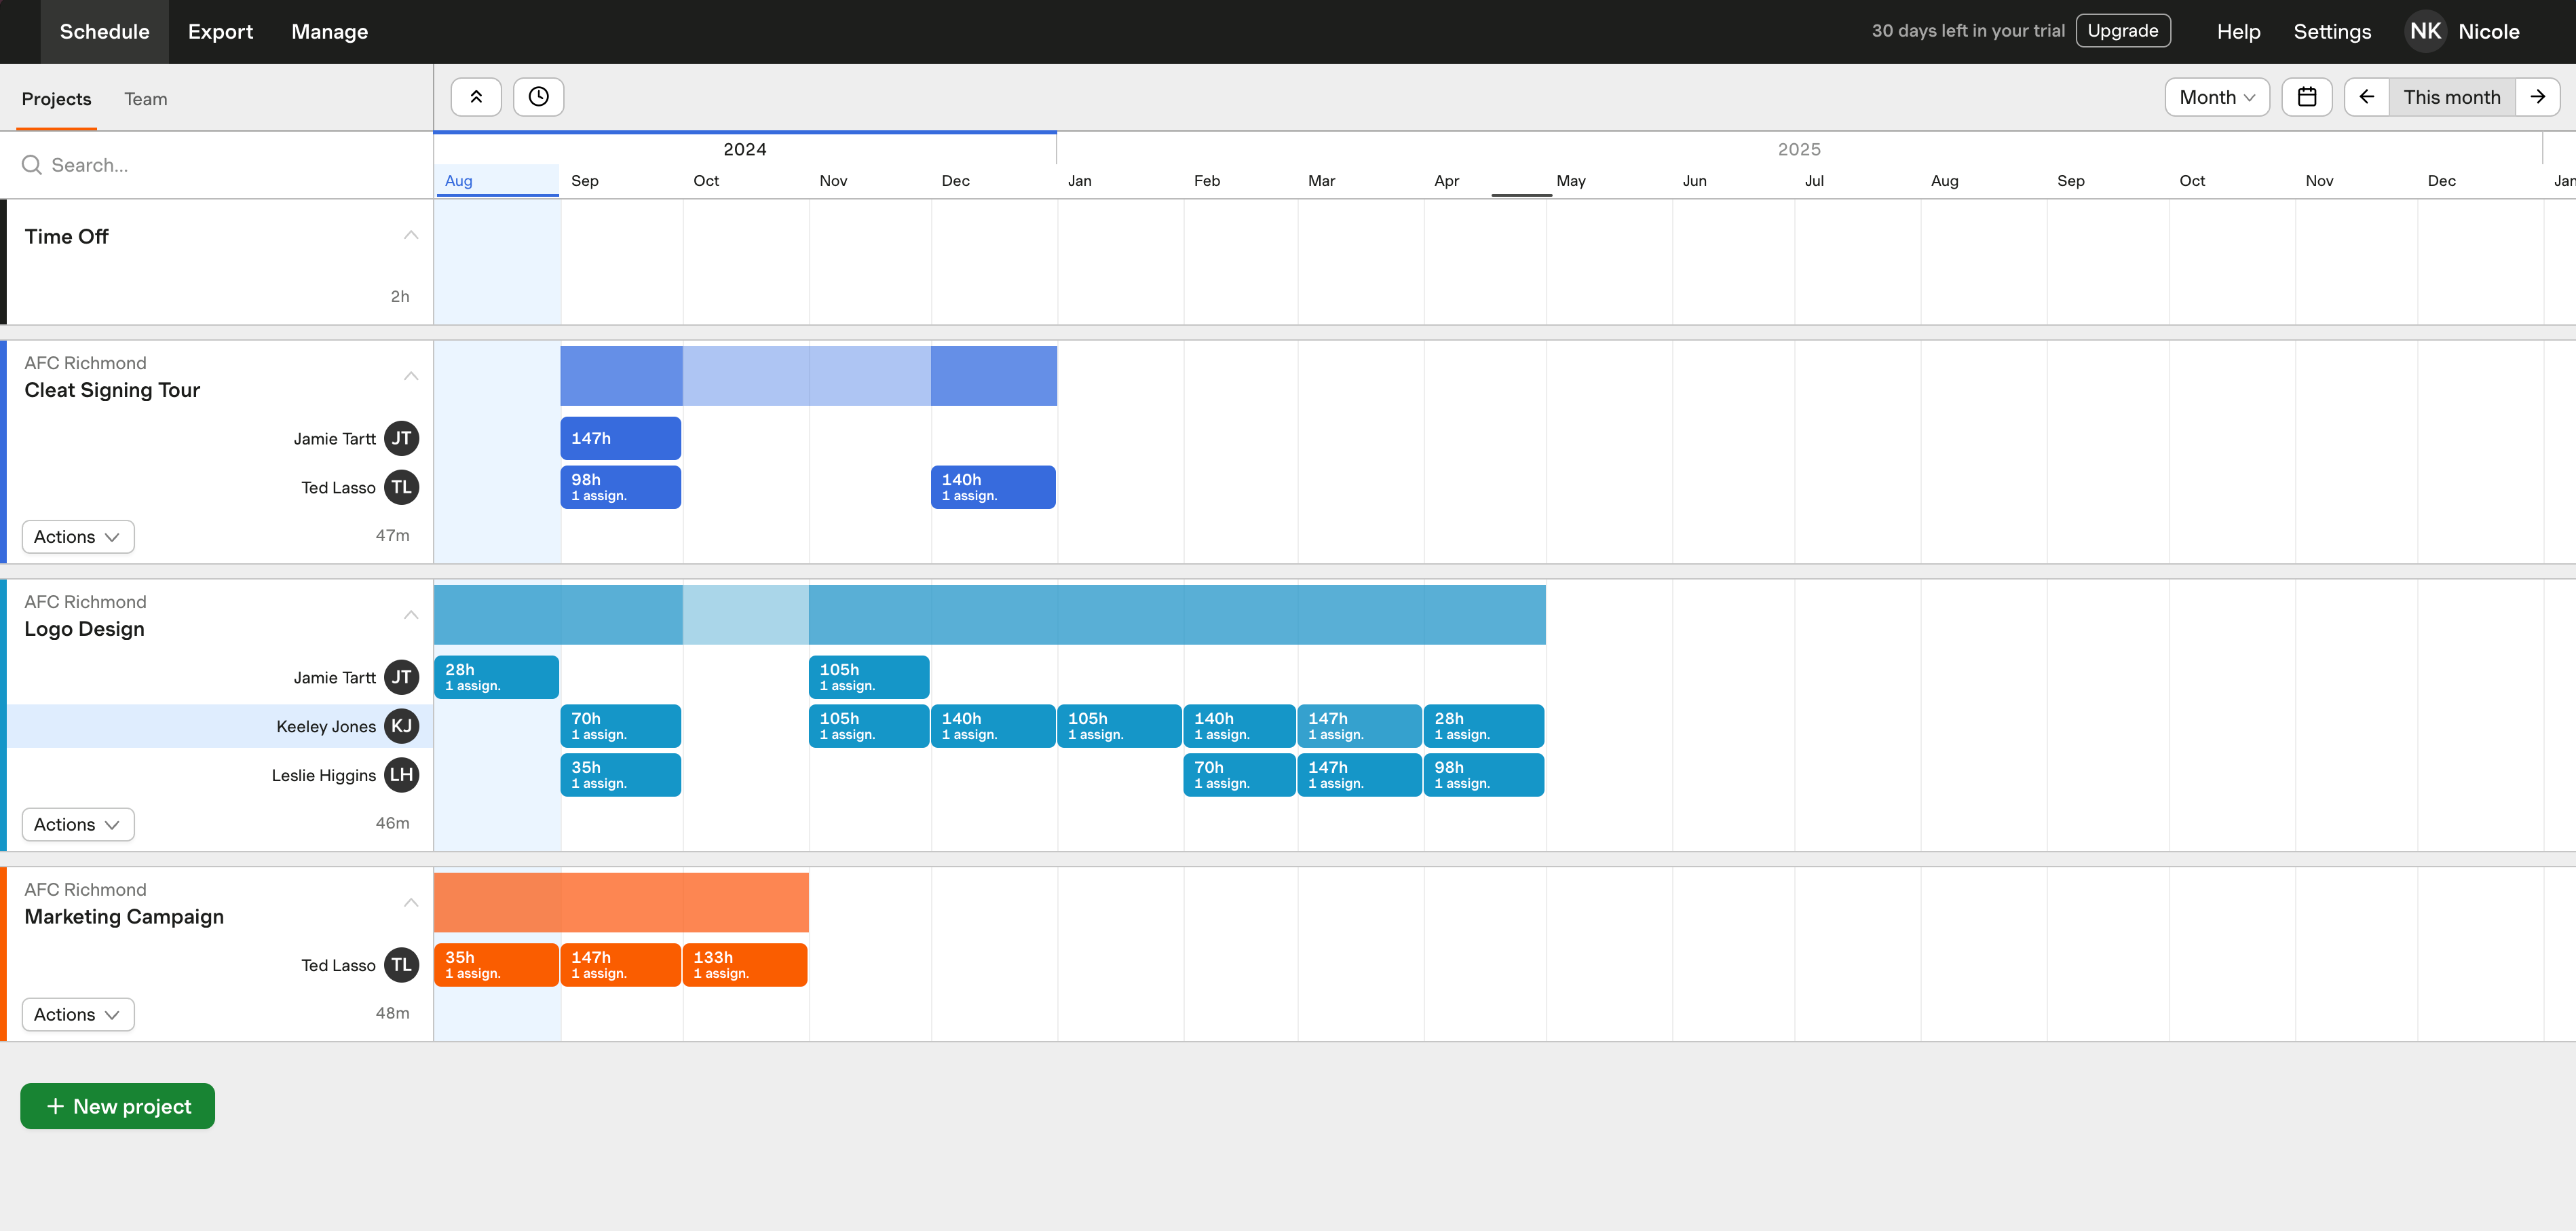
The Projects schedule view
So far, you’ve successfully created projects, added people, scheduled assignments, and created milestones. This is what your Projects schedule should start to look like:
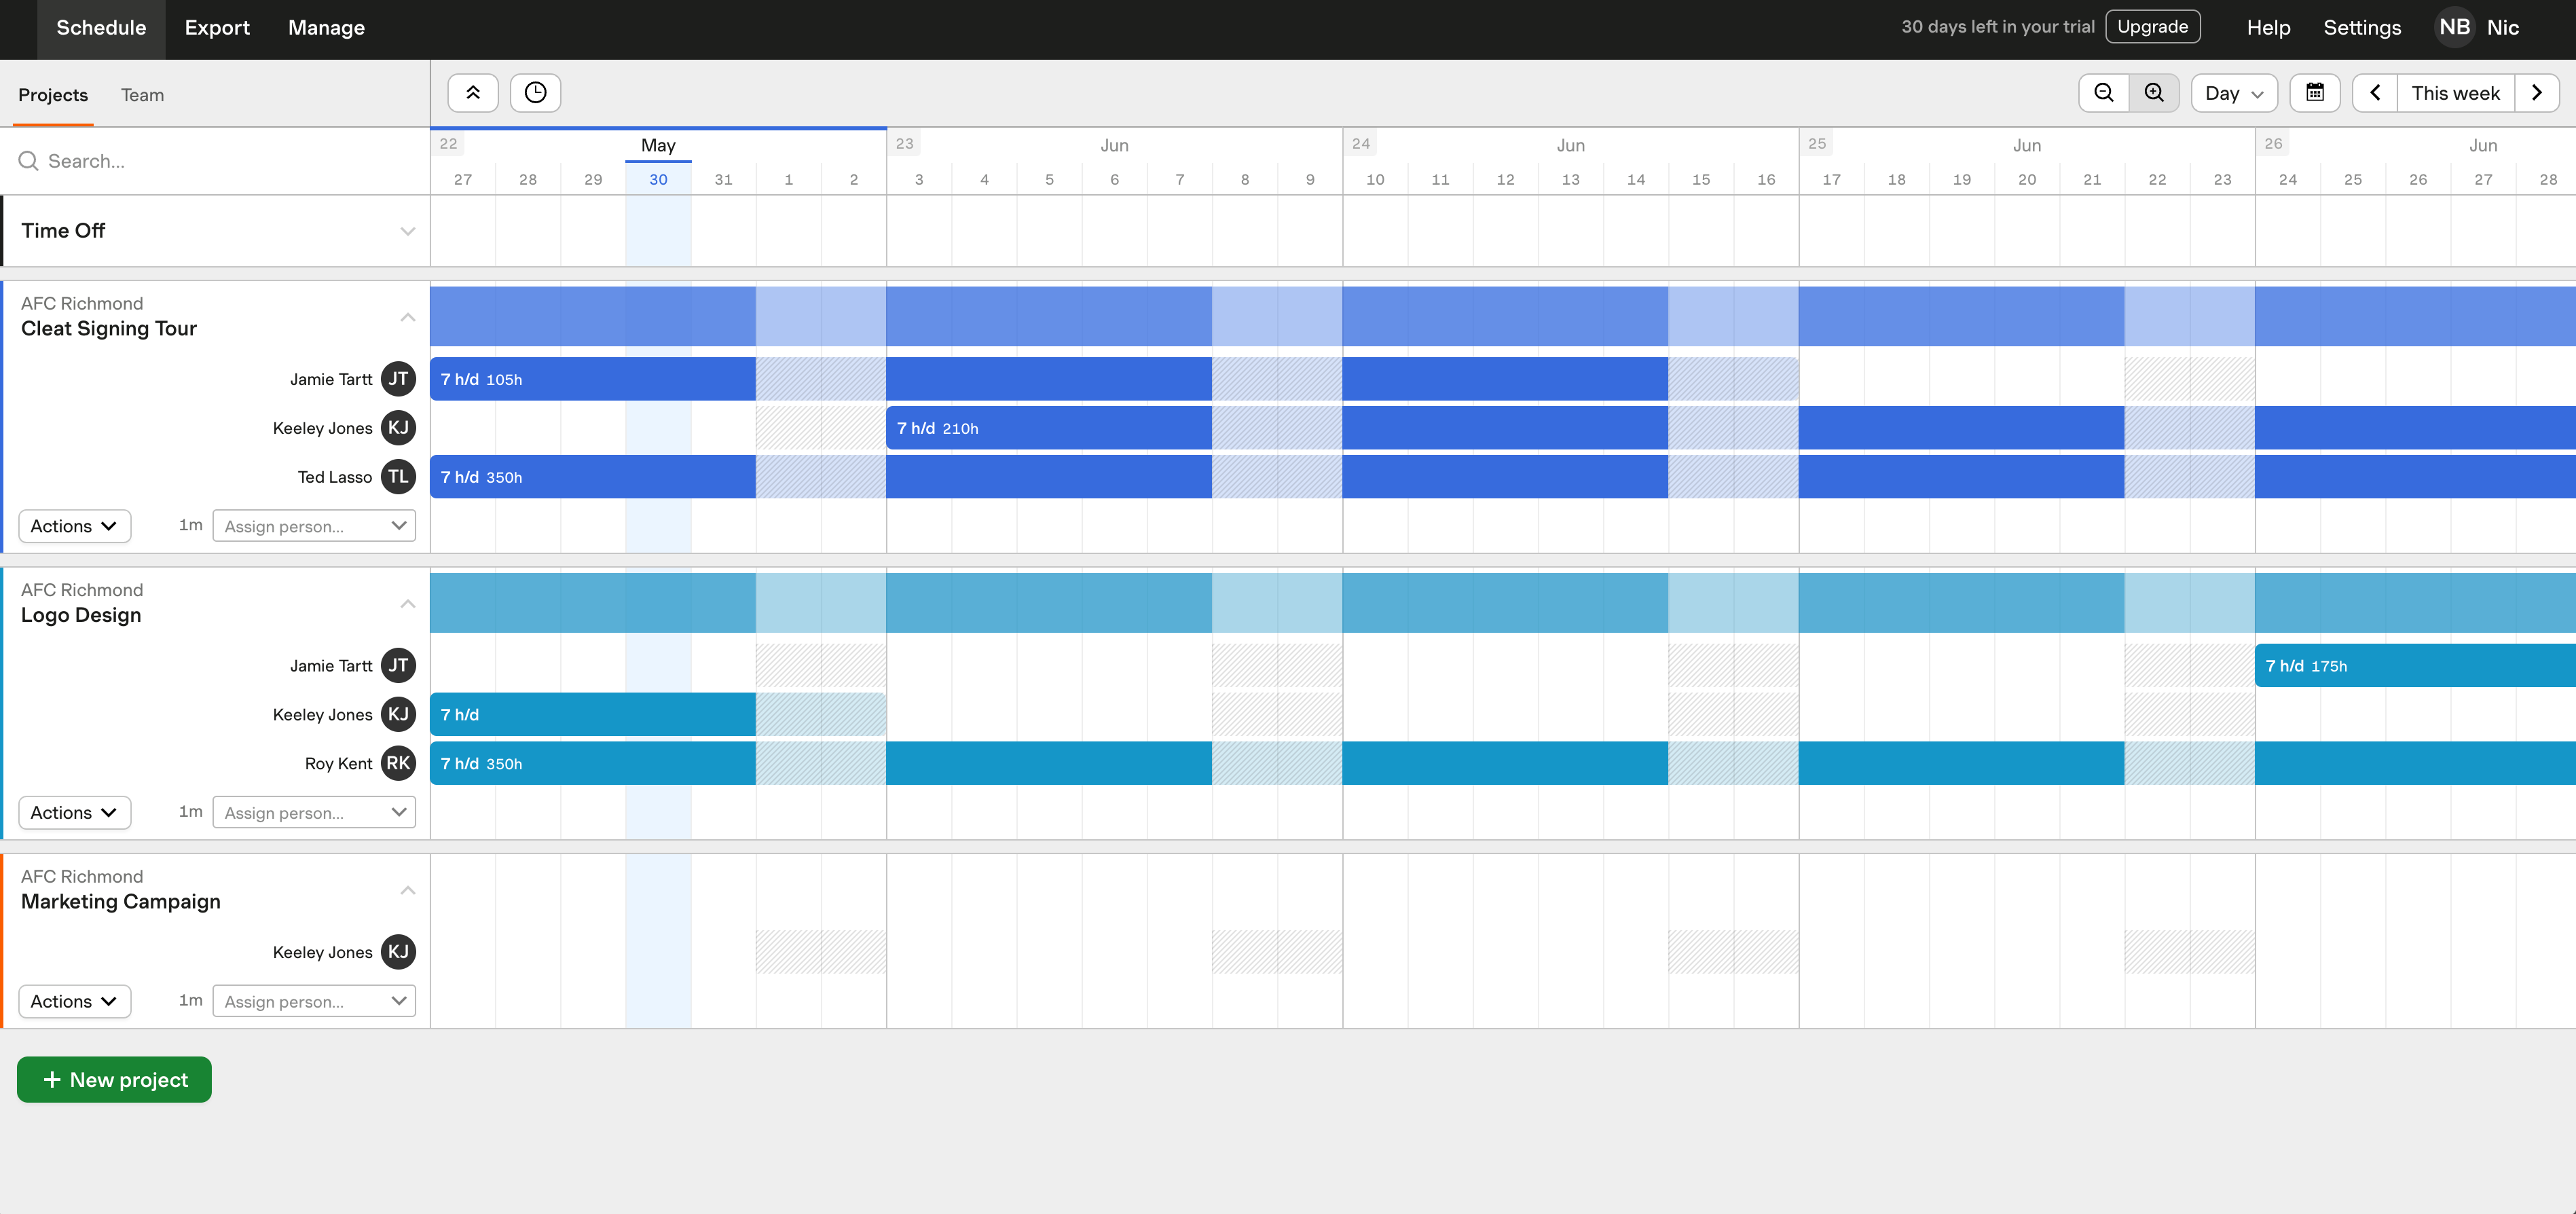
You can also toggle over to the Week view:
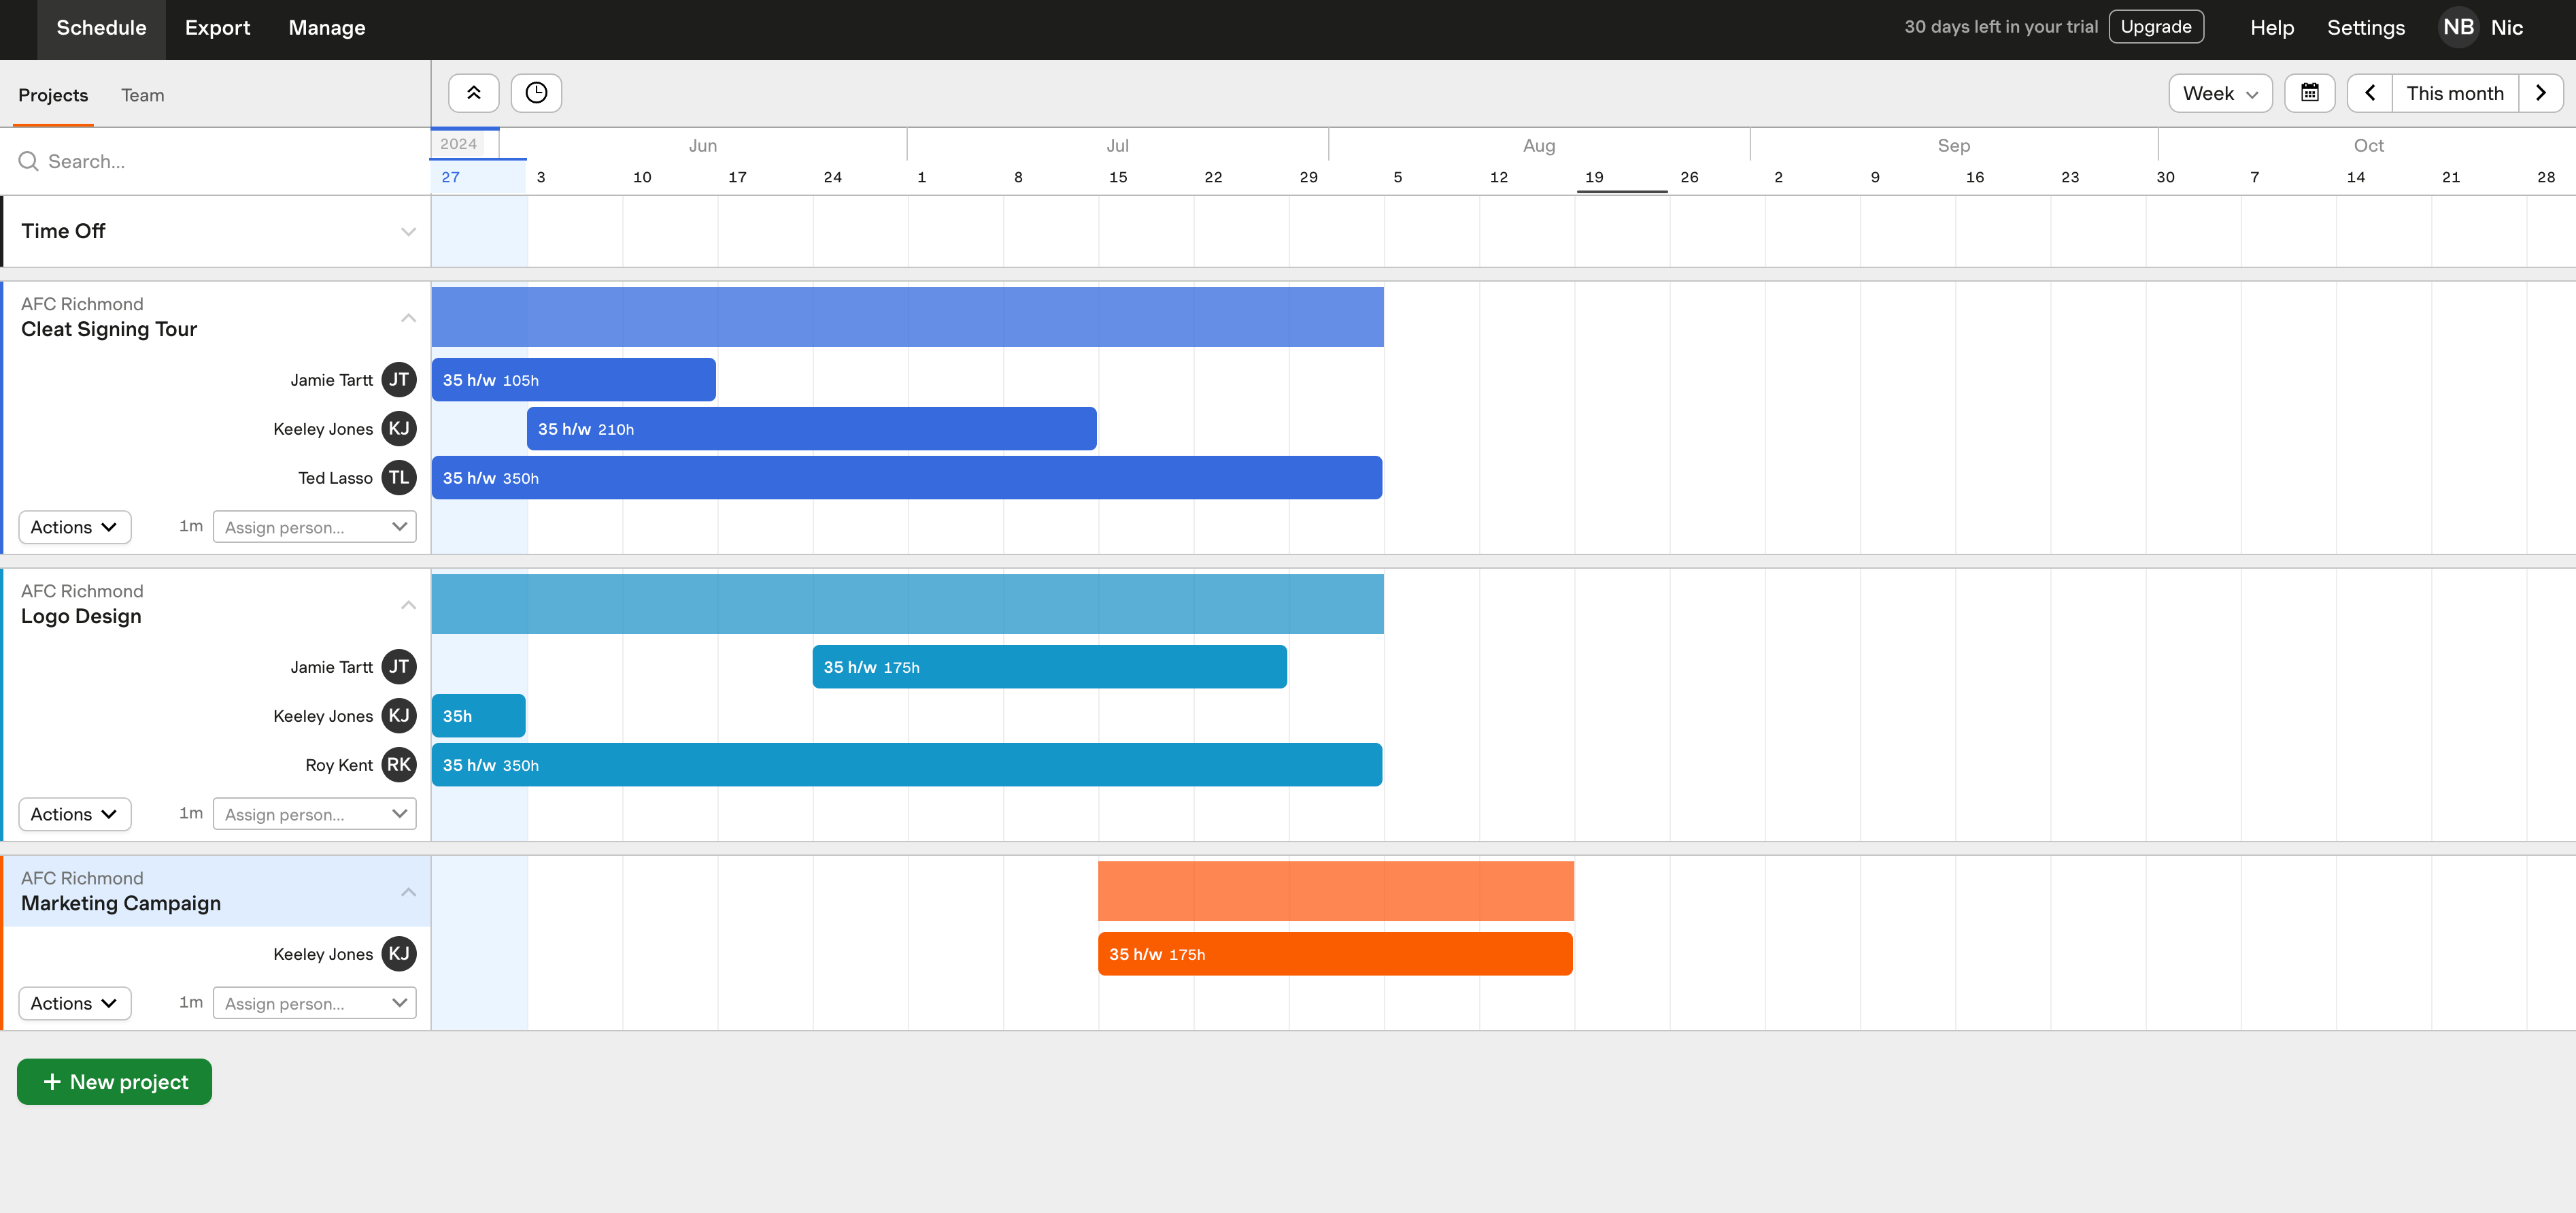
And to the Month view:
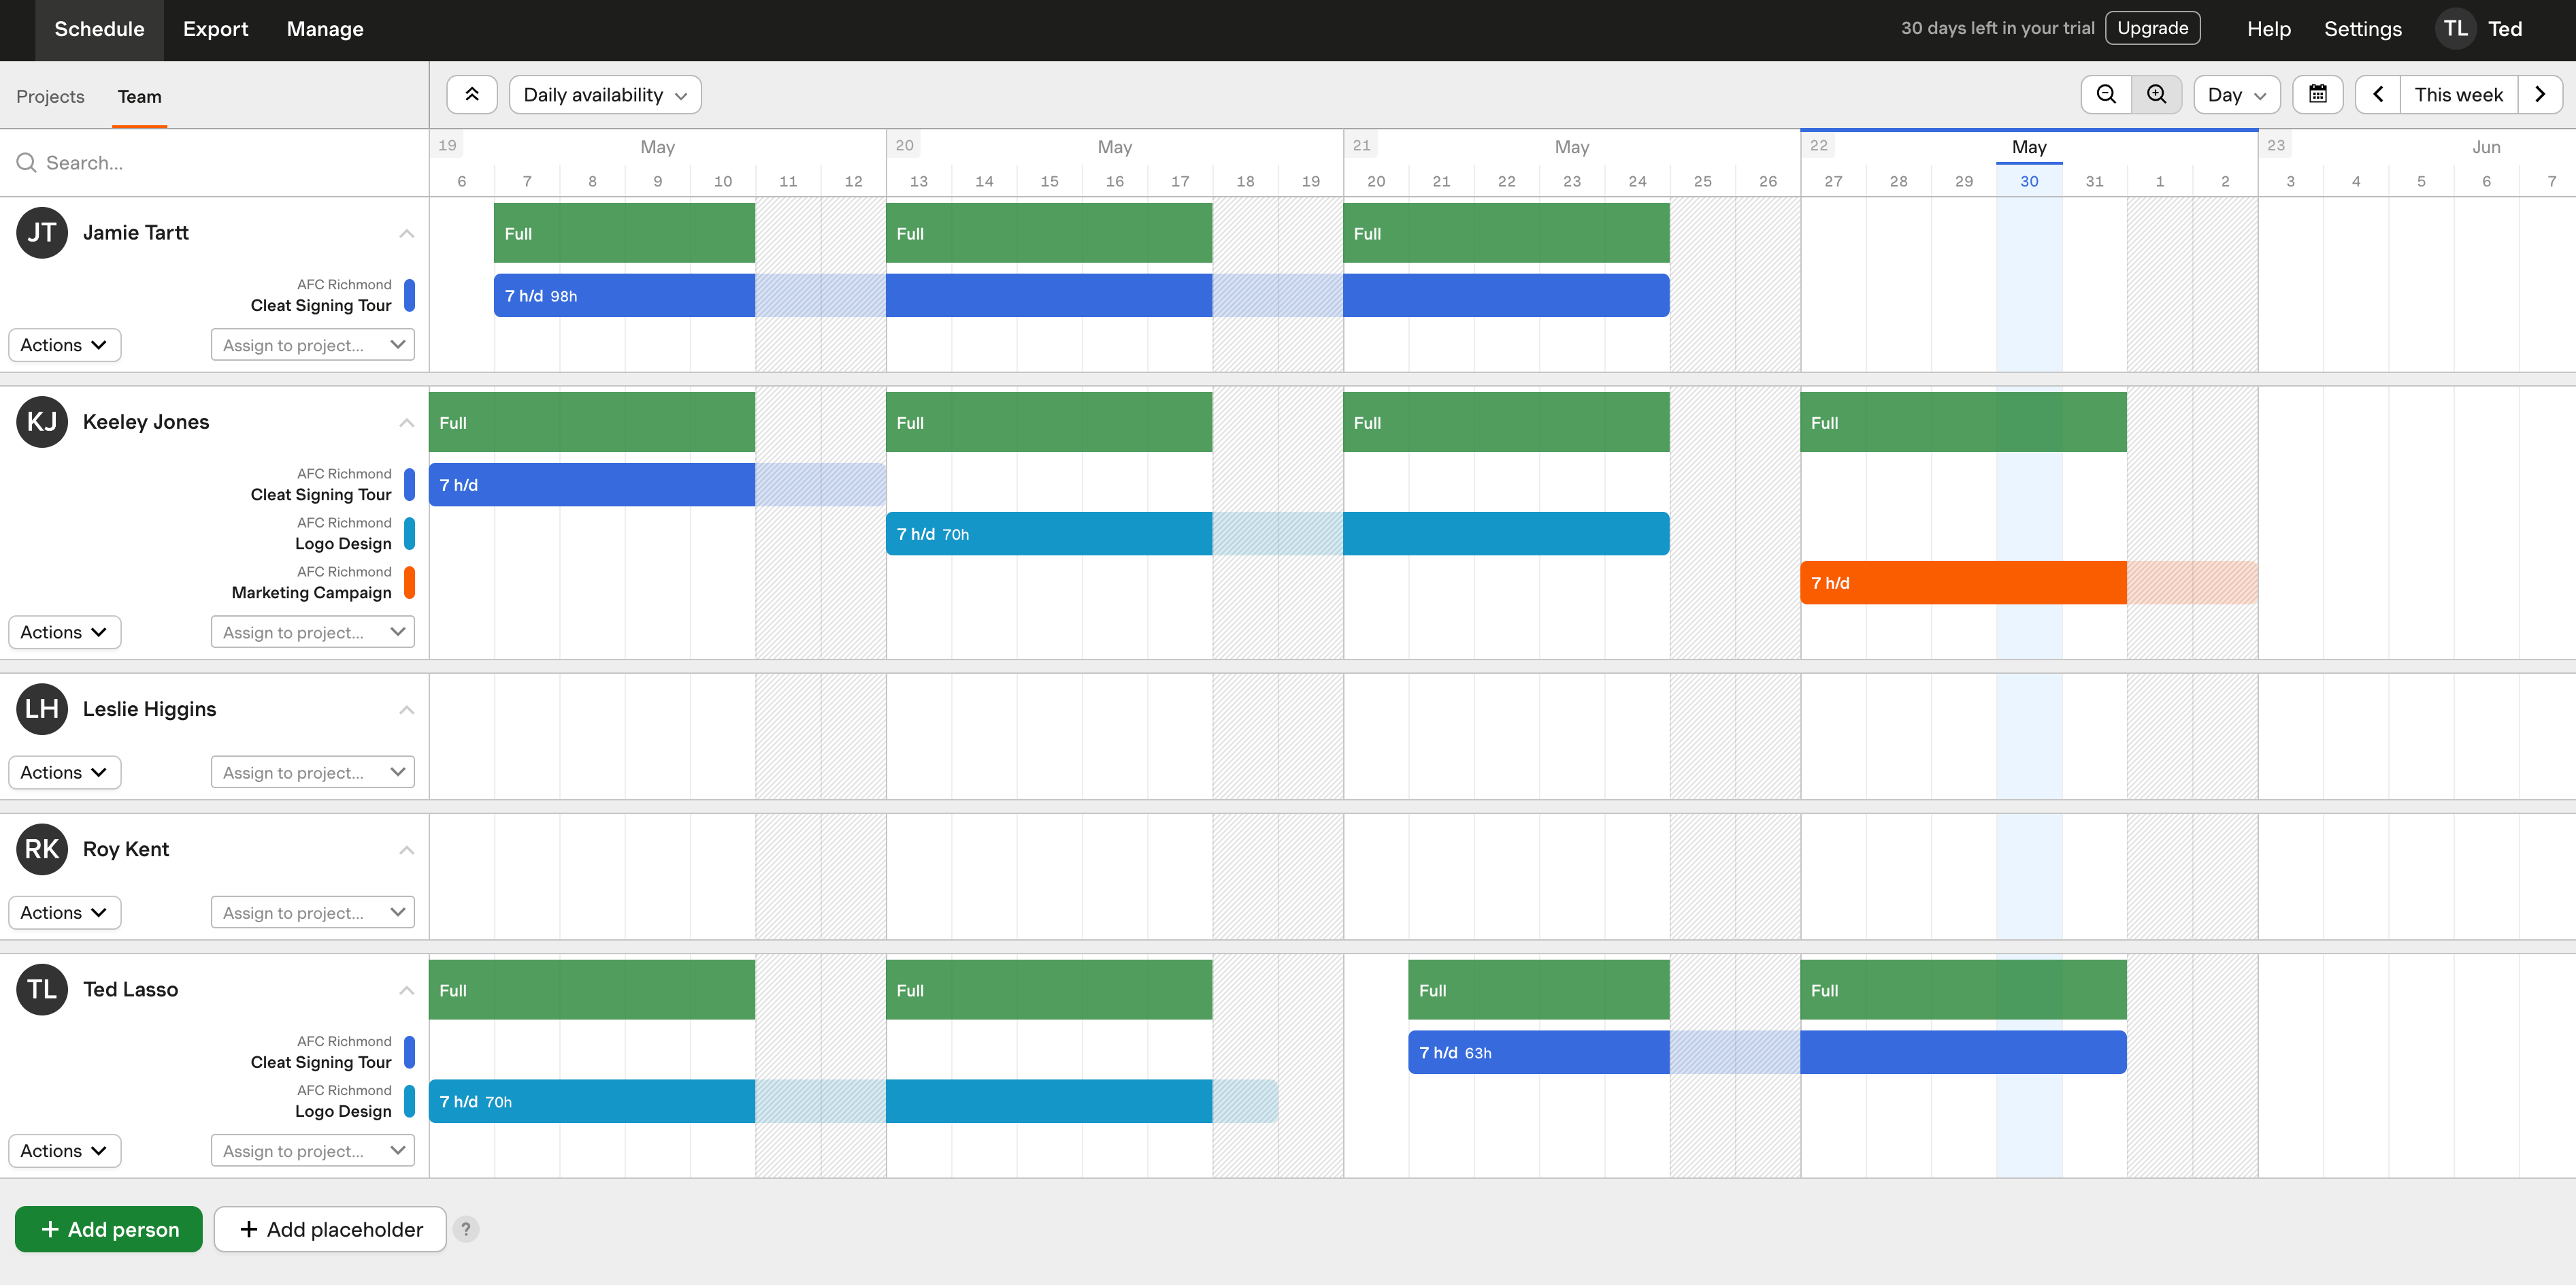
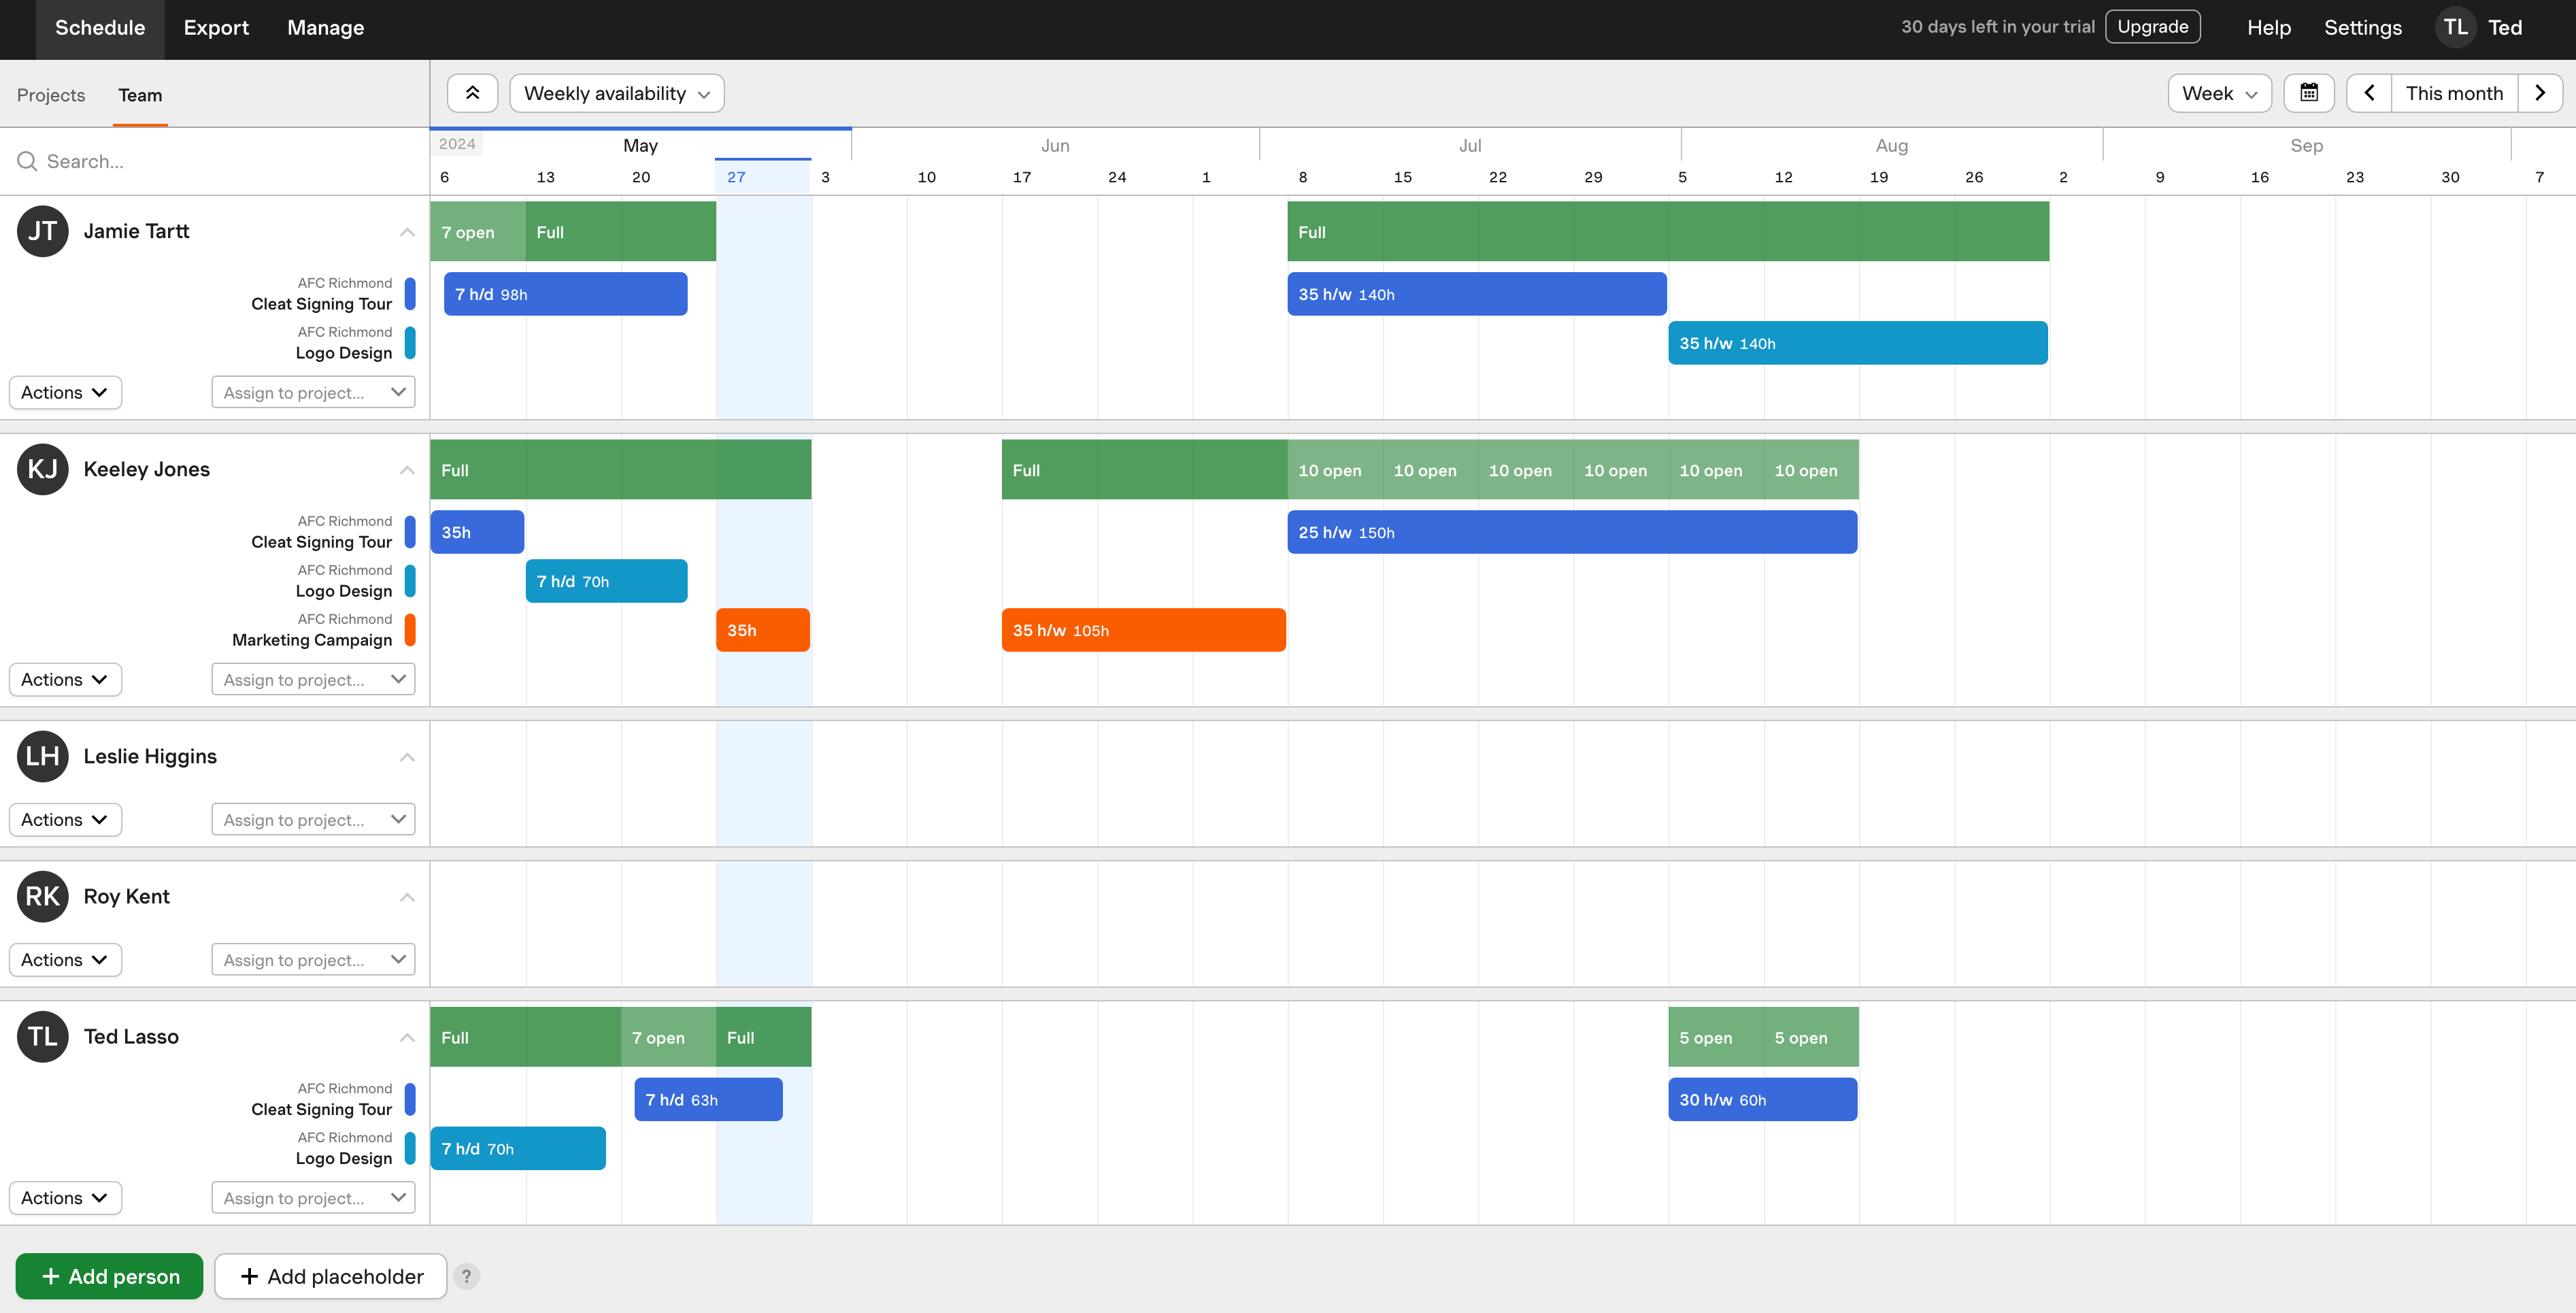
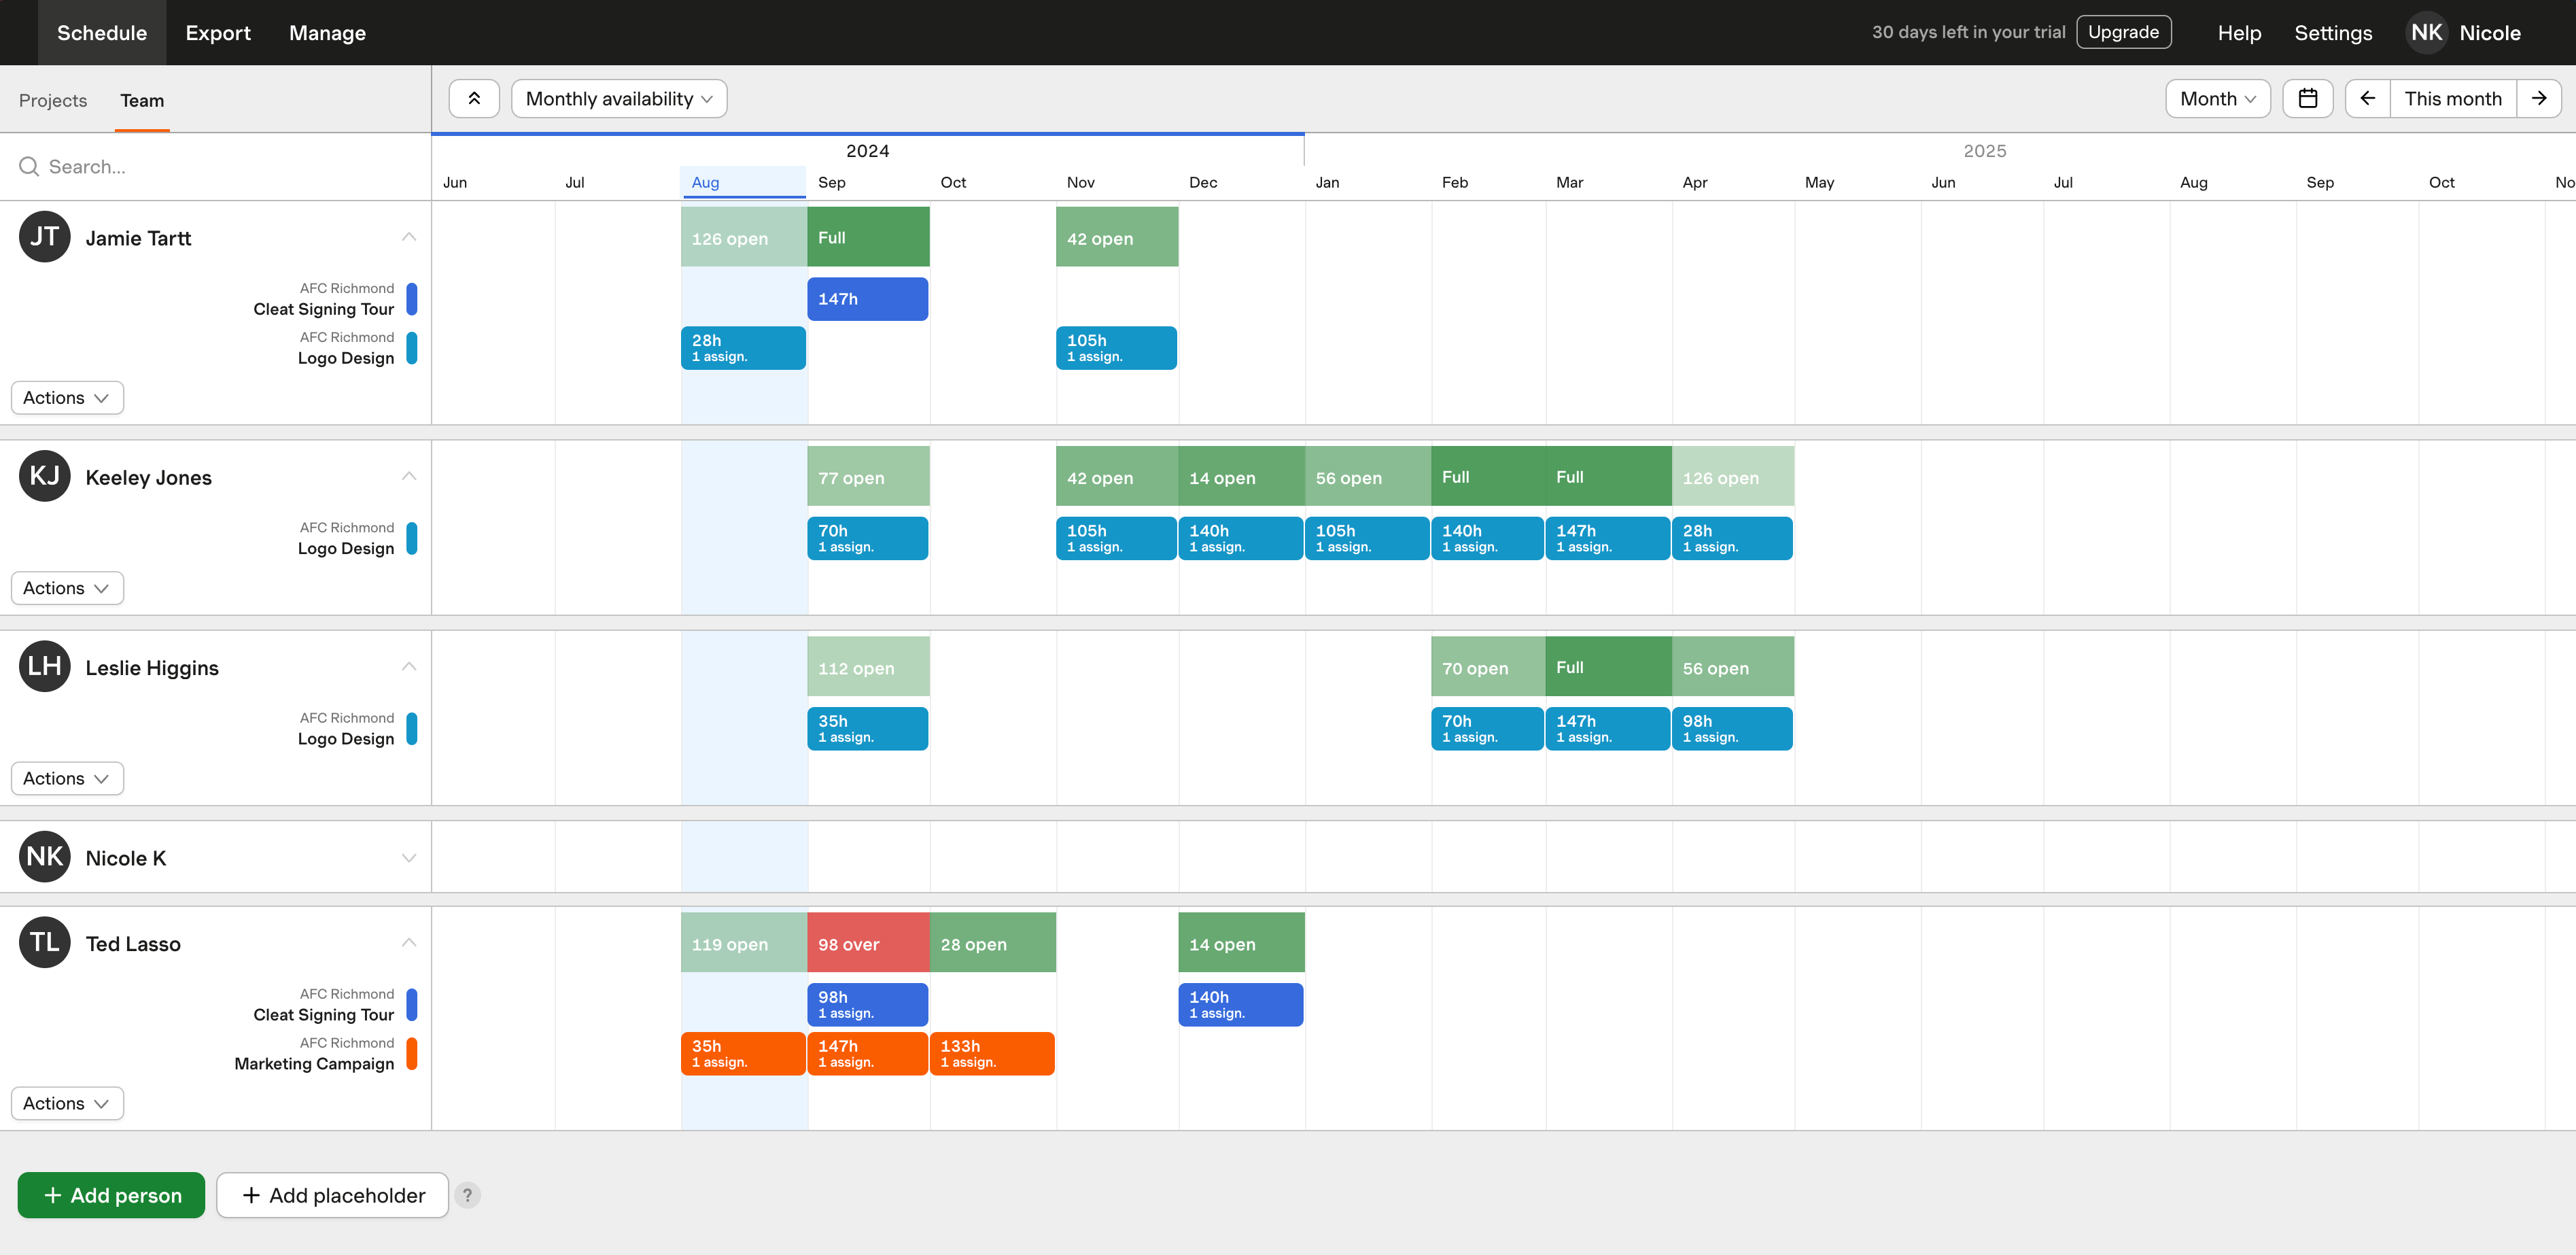
The Team schedule view
Finally, let’s have a look at the other half of your schedule: the Team schedule. In the top left corner of your schedule, you’ll see two buttons—Projects and Team. Click on Team to see a list of all of the people and placeholders in your Forecast account. Here, you can analyze each teammate’s availability and capacity, and make any necessary adjustments. You can also view the Team schedule from the Day, Week, or Month view.
Day view:
Week view:
Month view:
That’s it for the basics—you’re well on your way to more effective time planning. You can check out the rest of our Help Center for useful tips and suggestions.